
Your first social post
Before you begin
Confirm the business you’re working on
Use the business profile you intend to publish for. If a screen asks you to select a business, choose that profile; the Calendar uses the business context active for your workspace.
Check that the website and business details shown in Visual Identity belong to the right business before you create content.
Check Visual IdentityChoose a destination
Connect the channel you want to use
Open Integrations and connect the destination for your post: Facebook, Instagram, or Google Business Profile. The options available later depend on the connected account and the post type.
Open IntegrationsCheck your brand context
Review Visual Identity
Confirm that the business details and visual assets in Visual Identity are current. This keeps your review focused on the right business before you prepare a post.
Open Visual IdentityStart with a topic
Plan what your first post is about
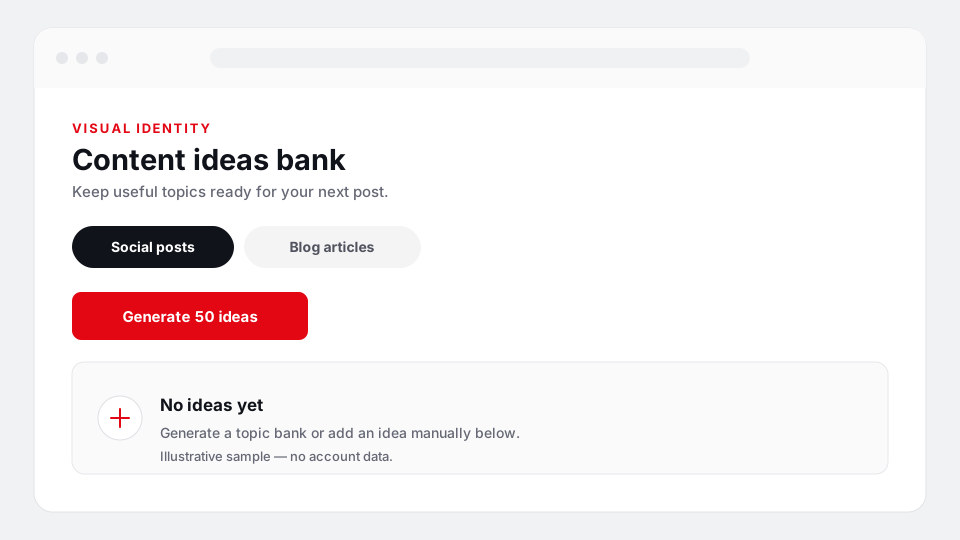
In Visual Identity, open Content ideas bank and choose Social posts. You can select Generate 50 ideas or add an idea manually. Then open the Calendar to prepare a post around the topic you chose.
Check before you act
Review the post and destination
Read the post text, check its selected destination, and inspect any attached artwork before scheduling or publishing. A completed generation is still a draft; it does not by itself mean the destination accepted a post.
Choose what happens next
Leave it as a draft, schedule it, or publish now
If you’re not ready, leave the item in Draft. To choose a future time, use the Calendar’s Schedule a post flow and select Add to calendar. To send a reviewed post immediately, use Publish now when that action is available for the selected destination.
After taking action, check the Calendar status rather than assuming the post succeeded.
Open your CalendarKnow what the Calendar is telling you
Draft, Scheduled, Published, and Error
The status describes where the post is in its publishing lifecycle. The Calendar’s visible failure label is Error.
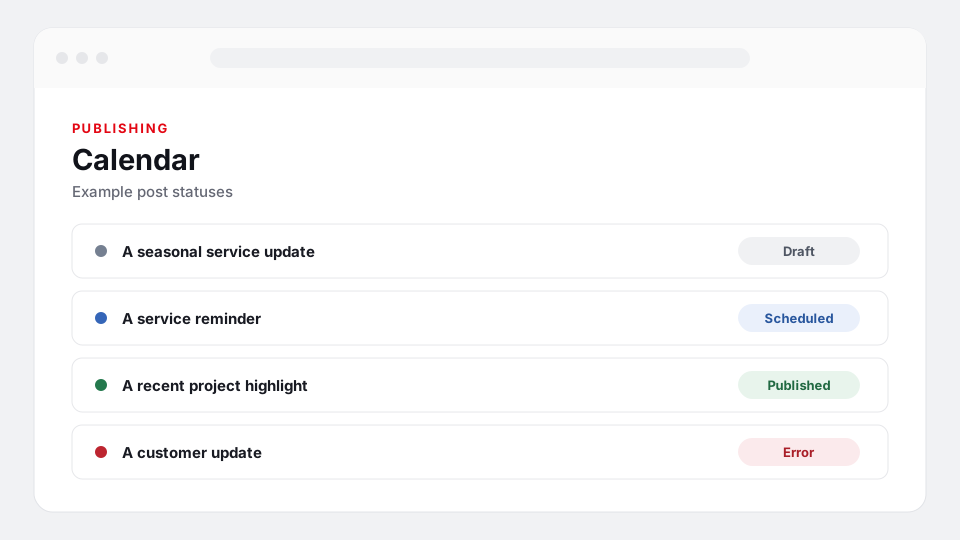
- Draft
- Saved for review; it has not been scheduled or published.
- Scheduled
- Set for a future publishing time.
- Published
- The Calendar reports that the post was published.
- Error
- Publishing did not complete successfully; open the item for its available details.
You can pause without changing modes
Pause or resume the saved schedule
In Automation settings, use Pause automation to pause the saved schedule, or Resume automation to resume it. This control changes the schedule pause state; it does not switch operating mode or change destinations.
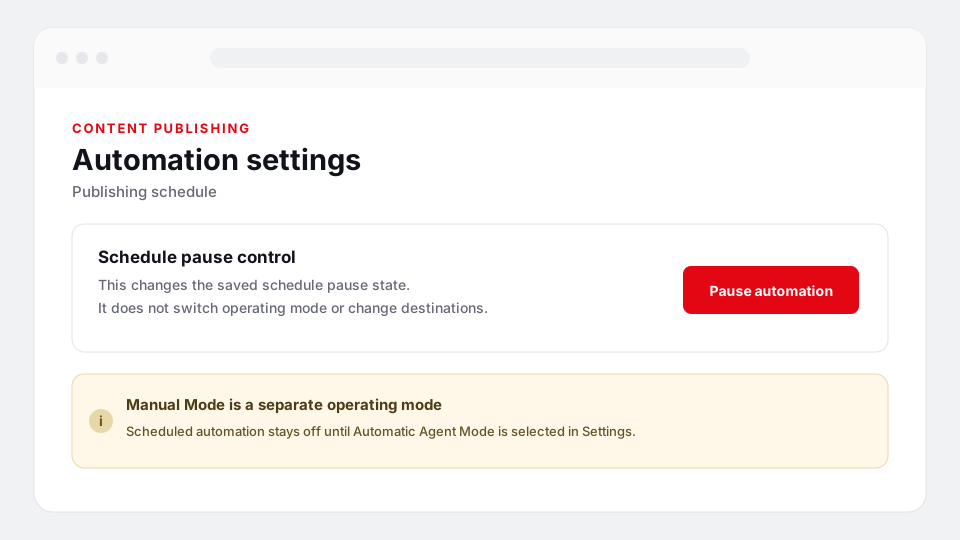
Manual Mode is a separate operating mode. The Automation settings page says scheduled automation stays off until you switch to Automatic Agent Mode in Settings. Changing modes is not the same as cancelling individual scheduled posts.
Open Automation settingsWhen something goes wrong
Check the Calendar item marked Error
Open the affected item and read the available details to see what happened. If you still need help, contact the RankTalon team with the post and destination details; don’t assume a retry happened unless the Calendar shows a new result.